
Introduction
Starting embroidery digitizing can feel confusing at first. There are stitch settings, underlay, thread direction, density, pull compensation, and many other options to understand.
That is where Tajima DG16 by Pulse for beginners becomes useful. With the right approach, you can learn the software step by step instead of trying to master every feature at once.
Think of embroidery digitizing like drawing with thread. Your artwork is the idea, while the software helps you decide how that idea should be stitched onto fabric.
In this guide, we will cover the basics of Tajima DG16 by Pulse, explain important tools, and share practical tips to help new digitizers build confidence.
What Is Tajima DG16 by Pulse?
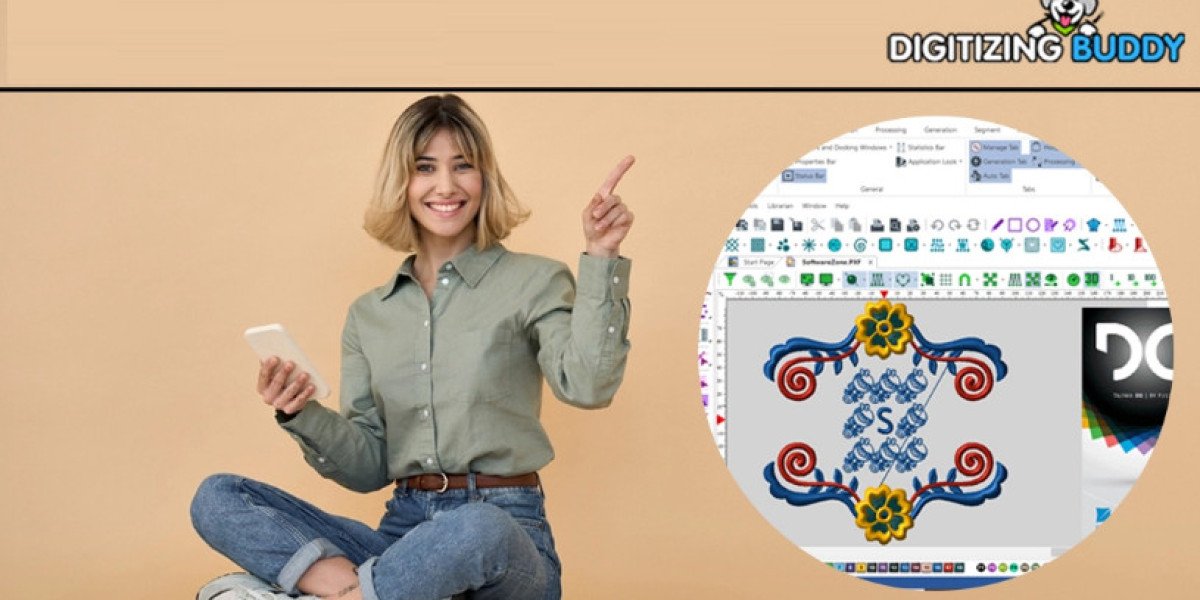
Tajima DG16 by Pulse is embroidery digitizing software used to turn artwork into machine-readable embroidery designs.
It allows users to create and edit embroidery objects, set stitch types, control stitch direction, adjust density, and prepare designs for embroidery machines.
For beginners, the software may look complicated because it offers many professional tools. However, you do not need to learn everything immediately.
Start with the basic functions and gradually move toward advanced digitizing techniques.
Why Learn Tajima DG16 by Pulse as a Beginner?
Learning professional digitizing software can give you more control over your embroidery designs.
With practice, you can understand how artwork behaves when converted into stitches and make adjustments before sending a file to an embroidery machine.
Some useful skills include:
- Creating basic embroidery objects
- Using run, satin, and fill stitches
- Setting stitch directions
- Applying suitable underlay
- Adjusting stitch density
- Adding pull compensation
- Editing existing embroidery designs
- Checking designs before production
- Preparing files for different embroidery machines
The goal is not simply to create a design that looks good on screen. The real goal is to create stitches that sew cleanly on fabric.
Getting Started With Tajima DG16 by Pulse
If you are completely new to digitizing, avoid starting with complicated logos or detailed artwork.
Choose a simple design with clear shapes. A basic flower, letter, or simple logo can teach you the fundamentals without overwhelming you.
1. Understand the Workspace
Begin by becoming familiar with the main areas of the software.
Learn where you can:
- Open and save designs
- Create embroidery objects
- Select and edit objects
- Change stitch properties
- Zoom and move around the design
- Check the sewing sequence
- View stitch information
Spend some time exploring these features before attempting a detailed project.
2. Import Simple Artwork
Your artwork is the starting point of the digitizing process.
For your first projects, use clean artwork with clear outlines and limited colors. Poor-quality or highly detailed images can make beginner digitizing much harder.
A simple image helps you focus on stitch planning instead of spending most of your time fixing artwork.
3. Learn Basic Stitch Types
Understanding stitch types is one of the most important parts of learning Tajima DG16 by Pulse for beginners.
Run Stitch
A run stitch uses a line of stitches to create outlines or fine details.
It works well for:
- Thin outlines
- Small details
- Simple lettering
- Decorative lines
Satin Stitch
Satin stitches create smooth, raised columns of embroidery.
They are commonly useful for:
- Borders
- Lettering
- Narrow shapes
- Small decorative areas
The width of the object matters. Very wide satin areas may require a different stitch strategy.
Fill Stitch
Fill stitches cover larger areas with rows of stitches.
They are useful for:
- Large shapes
- Background areas
- Filled logos
- Solid design sections
Choosing the correct stitch type can make a major difference in the final embroidery.
Learn Stitch Direction
Stitch direction tells the machine how stitches should run inside an embroidery object.
Imagine brushing hair. If every section is brushed in the same direction, the result can look flat or unnatural. Changing direction can create better texture and visual movement.
When digitizing, consider the shape of the object and how its stitches should flow.
For example, curved lettering may need carefully planned stitch angles to achieve a clean appearance.
Understand Stitch Density
Stitch density refers to how closely stitches are placed together.
Too much density can create problems such as:
- Excess thread
- Fabric distortion
- Needle stress
- Heavy embroidery
- Thread breaks
Too little density can leave gaps and make the design look weak.
There is no single density setting that works for every design. Fabric type, thread, stitch type, design size, and underlay all influence the result.
Why Underlay Matters
Underlay is the foundation underneath the visible stitches.
It helps stabilize the fabric and gives the top stitches a better base.
Common underlay approaches can include different forms of center, edge, or perpendicular support depending on the object and fabric.
Beginners sometimes focus only on the visible stitches. However, good embroidery depends heavily on what happens underneath them.
Pull Compensation Explained Simply
Fabric can move slightly as it is stitched. This can cause certain embroidery shapes to become smaller or develop gaps.
Pull compensation helps account for this movement.
For example, if a satin column pulls inward while sewing, compensation can help maintain the intended shape.
The correct amount depends on factors such as fabric, design size, stitch density, and stabilizer. Avoid adding compensation blindly.
Plan Your Sewing Sequence
A good embroidery design is not just about individual objects. The order in which those objects sew also matters.
A sensible sequence can help reduce:
- Unnecessary thread trims
- Jump stitches
- Fabric movement
- Registration problems
- Excessive travel stitching
Before finalizing a design, review the object sequence and consider how the machine will physically sew it.
Tajima DG16 by Pulse for Beginners: A Simple Practice Project
A small lettering project is a useful way to practice.
Try this basic workflow:
- Create or import a short word.
- Select an appropriate lettering or stitch method.
- Check the letter size.
- Adjust stitch direction where needed.
- Review density.
- Add suitable underlay.
- Apply pull compensation when necessary.
- Check the sewing sequence.
- Simulate or preview the design.
- Save the design in the required embroidery format.
Do not worry if your first design is not perfect. Digitizing improves through repeated testing and adjustment.
Common Beginner Mistakes
Learning software is only one part of becoming a good digitizer. Knowing what to avoid can save you considerable time.
Using Too Much Density
Adding more stitches does not automatically make embroidery better. Excessive stitching can make designs heavy and cause production problems.
Ignoring Fabric
A design that works well on a stable fabric may behave differently on stretchy or lightweight material.
Always consider the fabric before choosing your settings.
Making Details Too Small
Tiny artwork details may look clear on a computer screen but disappear during embroidery.
Simplification is often necessary when converting artwork into stitches.
Forgetting Stitch Direction
Random stitch directions can make a design look inconsistent.
Plan directions according to the shape and visual appearance of each object.
Skipping a Test Sew-Out
A screen preview cannot show every real-world embroidery issue.
Whenever possible, test the design on similar fabric using the intended thread and stabilizer.
Tips for Learning Faster
If you are learning Tajima DG16 by Pulse for beginners, focus on practical projects instead of trying to memorize every tool.
Here are some useful habits:
- Start with simple artwork.
- Practice one stitch type at a time.
- Learn why settings are used, not just where they are located.
- Keep notes about successful settings.
- Test designs on actual fabric.
- Study stitch flow in professional embroidery.
- Review your mistakes after every sew-out.
- Increase project complexity gradually.
A few focused practice sessions can be more valuable than trying to learn the entire software interface in one day.
When Should Beginners Use Professional Digitizing Help?
Learning digitizing yourself can be rewarding, but some projects require more experience.
Detailed logos, small lettering, complex gradients, 3D effects, caps, patches, and difficult fabrics can require careful stitch planning.
If you need production-ready embroidery files but are still learning the software, Digitizing Buddy can help with professional embroidery digitizing while you continue developing your own skills.
This approach can be especially useful when a design needs to be used for commercial production and consistent sewing quality matters.
How to Check Your Design Before Embroidery
Before sending a design to your machine, review several important points.
Check:
- Overall design size
- Stitch count
- Stitch density
- Thread colors
- Stitch direction
- Underlay
- Pull compensation
- Sewing sequence
- Trims and jumps
- Small details
- Final embroidery format
A careful pre-production check can prevent many avoidable problems.
Tajima DG16 by Pulse for Beginners: Final Thoughts
Learning Tajima DG16 by Pulse for beginners does not have to be overwhelming. The key is to learn the fundamentals first and build your skills through simple projects.
Start with basic artwork, understand run, satin, and fill stitches, and pay close attention to density, underlay, stitch direction, and pull compensation.
Most importantly, remember that embroidery digitizing is both technical and creative. The software gives you the tools, but experience teaches you how to use those tools effectively.
With regular practice and real sew-outs, you can gradually move from simple designs to more advanced embroidery projects.
FAQs
Is Tajima DG16 by Pulse suitable for beginners?
Yes. It provides professional digitizing tools, but beginners should start with basic designs and gradually learn more advanced features.
What should I learn first in Tajima DG16 by Pulse?
Start with the workspace, basic object creation, run stitches, satin stitches, fill stitches, stitch direction, density, and underlay.
How long does it take to learn Tajima DG16 by Pulse?
The learning time varies from person to person. Basic functions can be learned relatively quickly, while producing consistently high-quality embroidery requires regular practice and sew-out experience.
Can beginners create embroidery files with Tajima DG16 by Pulse?
Yes. Beginners can create embroidery files after learning the basic digitizing workflow and understanding the requirements of their embroidery machine.
Why does my first digitized design not sew perfectly?
Common causes include unsuitable density, poor stitch direction, inadequate underlay, incorrect compensation, unsuitable design size, or fabric-related issues. Testing and adjusting the design is an important part of digitizing.